SPEND $125 AND CHOOSE 3 FULL-SIZE FREE GIFTS


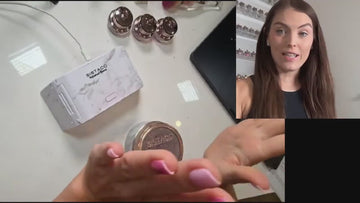
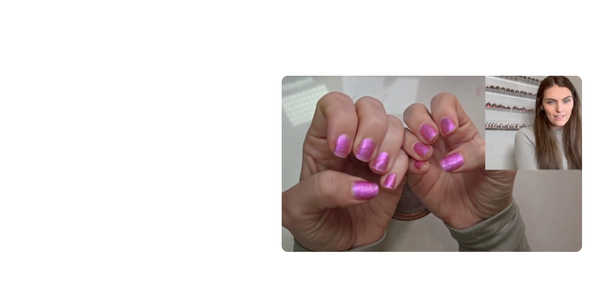
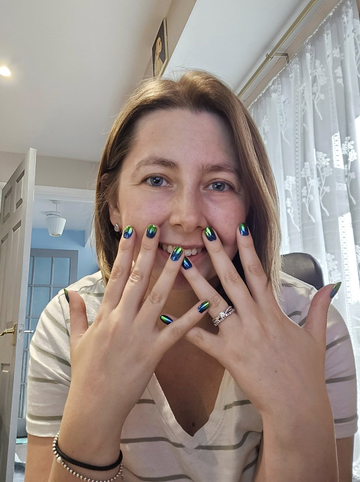

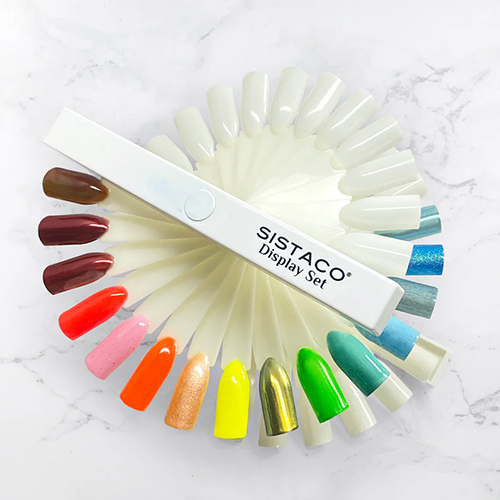




Salon Nails in 2 Minutes

PEEL

SIZE

PRESS & GO
Here's everything you need to know.
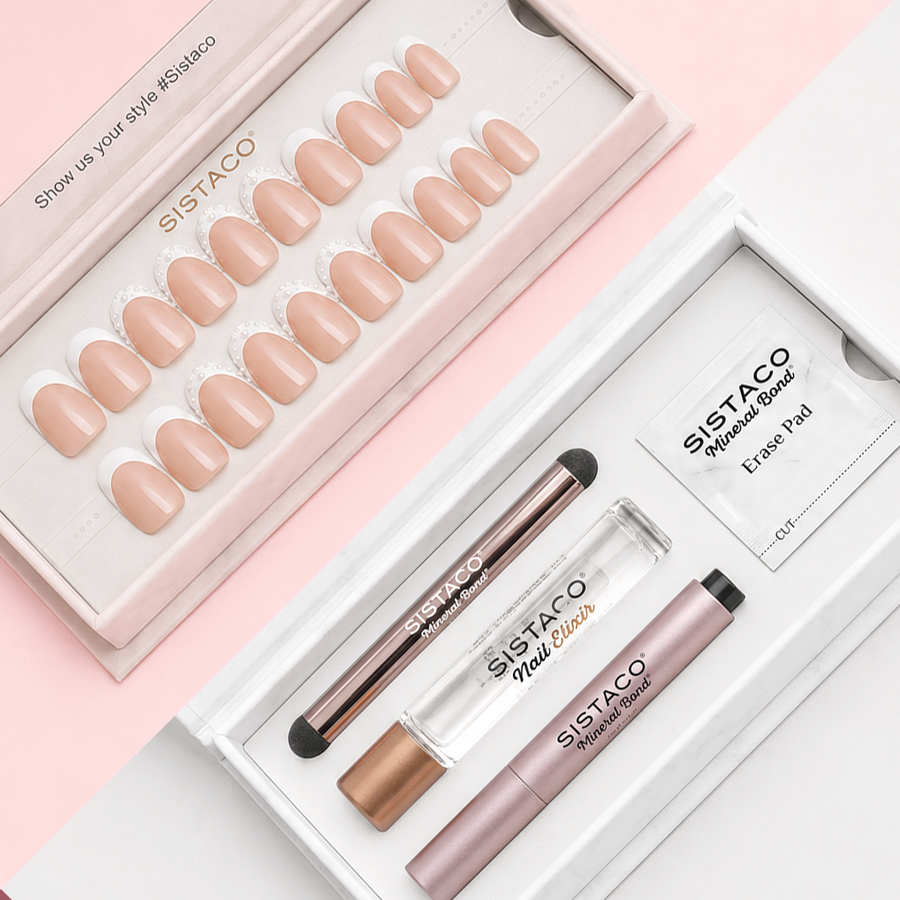
What's Included

Press-On Nails in 15 Sizes
15 sizes per set

Adhesive Tabs
Enough for one full application — all 10 fingers

Wooden Cuticle Stick
For alignment and removal
Press-On Nails in 15 Sizes
15 sizes per set
Adhesive Tabs
Enough for one full application — all 10 fingers
Wooden Cuticle Stick
For alignment and removal

Mini Nail File
To shape or shorten any nail to preference

Prep Pad
To clean and degrease the nail surface before application

Mini Nail File
To shape or shorten any nail to preference
Prep Pad
To clean and degrease the nail surface before application
How To Apply Your Press-Ons

1
Prep Your Natural Nails
Push back your cuticles with the wooden stick. Lightly buff if your nails are ridged, then wipe each nail with the prep pad and let it dry.

2
Apply the Adhesive Tab
Choose an adhesive tab that matches your natural nail. Peel it from the sheet and press it firmly onto your clean, dry natural nail, leaving a small gap around the cuticle and edges. Smooth it flat, then remove the top protective film before applying the press-on.

3
Press On, Hold, Done
Align the press-on at your cuticle line — not overlapping it, just touching. Press down firmly, starting from the cuticle end and pressing toward the tip. Press firmly to secure the nail. Repeat for all 10 fingers.
1
Prep Your Natural Nails
Push back your cuticles with the wooden stick. Lightly buff if your nails are ridged, then wipe each nail with the prep pad and let it dry.
2
Apply the Adhesive Tab
Choose an adhesive tab that matches your natural nail. Peel it from the sheet and press it firmly onto your clean, dry natural nail, leaving a small gap around the cuticle and edges. Smooth it flat, then remove the top protective film before applying the press-on.
3
Press On, Hold, Done
Align the press-on at your cuticle line — not overlapping it, just touching. Press down firmly, starting from the cuticle end and pressing toward the tip. Press firmly to secure the nail. Repeat for all 10 fingers.
How To Remove Your Press-Ons

1
Use the Ease Away Pen
Slide the Ease Away Pen tip under your nail and click to release the formula where it meets the adhesive.

2
Wait 30 Seconds
Allow the formula to soak in for a couple of minutes, then gently lift the nail as it loosens never force or peel.

3
Gently Wiggle and Lift
Once the adhesive has loosened, gently wiggle and lift the press-on away. Never force or peel it off. Follow the removal instructions for any remaining adhesive, then wash your hands.

4
Clean and Store
Peel the used tab from the press-on and store the nails in their tray. Next time, apply fresh tabs to your natural nails, peel off the top film and press the press-ons on top.
1
Use the Ease Away Pen
Slide the Ease Away Pen tip under your nail and click to release the formula where it meets the adhesive.
2
Wait 30 Seconds
Allow the formula to soak in for a couple of minutes, then gently lift the nail as it loosens never force or peel.
3
Gently Wiggle and Lift
Once the adhesive has loosened, gently wiggle and lift the press-on away. Never force or peel it off. Follow the removal instructions for any remaining adhesive, then wash your hands.
4
Clean and Store
Peel the used tab from the press-on and store the nails in their tray. Next time, apply fresh tabs to your natural nails, peel off the top film and press the press-ons on top.


